Spicy yogurt curry

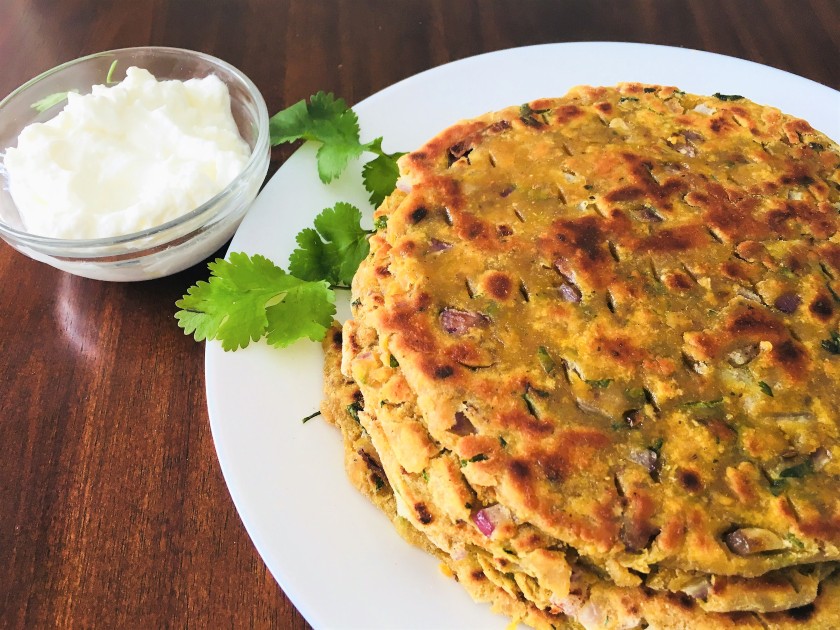
Spicy creamy yogurt curry (dahi ki subzi) is my go-to-food for when I am running short of fresh veggies at home. This curry tastes amazing with roti, paratha, rice and naan! People often have trouble avoiding curdling of yogurt in curries. With the tips and tricks shared in the video, this will become a child’s play!

Ingredients:

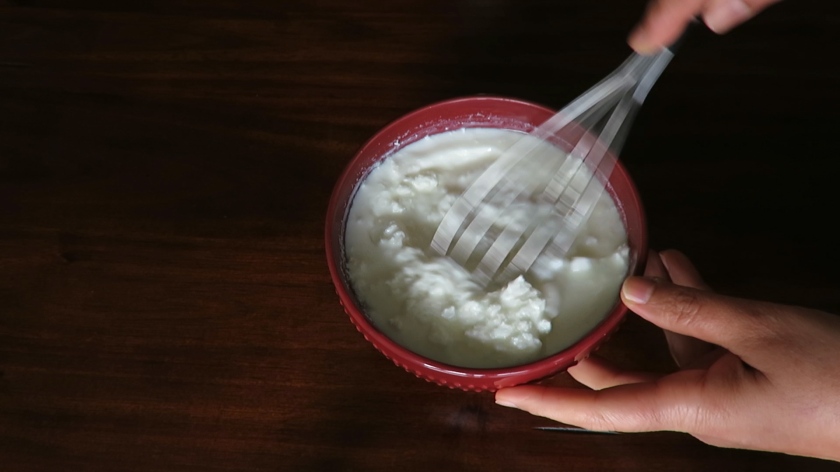
Yogurt/dahi (Thick, preferrably not sour) 1 cup

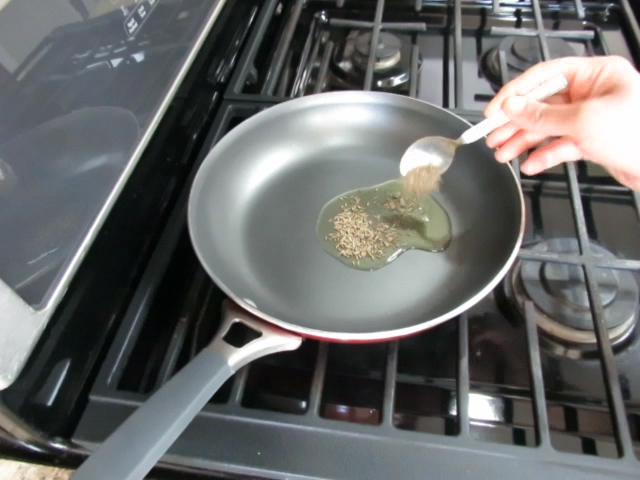
Kalonji/Nigella seeds 1/4 tsp

Jeera/Cumin seeds 1 tsp

Methi dana/ Fenugreek seeds 1/4 tsp

Mustard seeds ( 1/2 tsp)

Coriander seeds 1 tsp
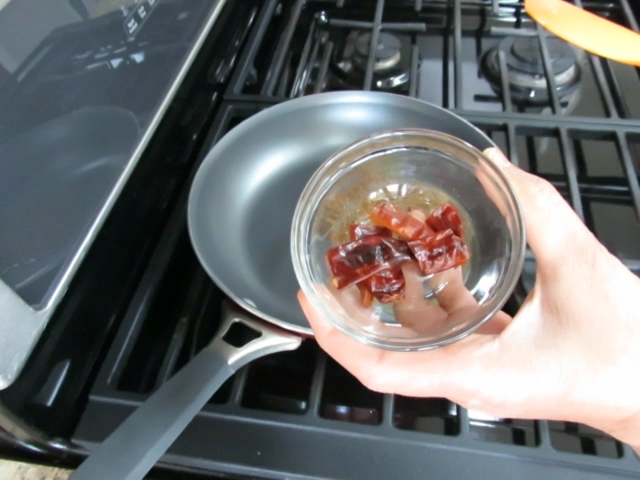
Whole red chili (2)

Salt (as per taste)

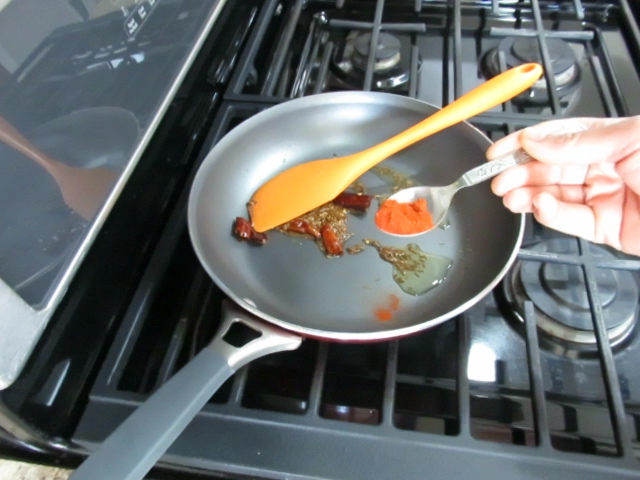
Red chili powder ( 1/3 tsp)

Turmeric powder ( 1/2 tsp)

Kashmiri red chili powder (3/4 tsp)
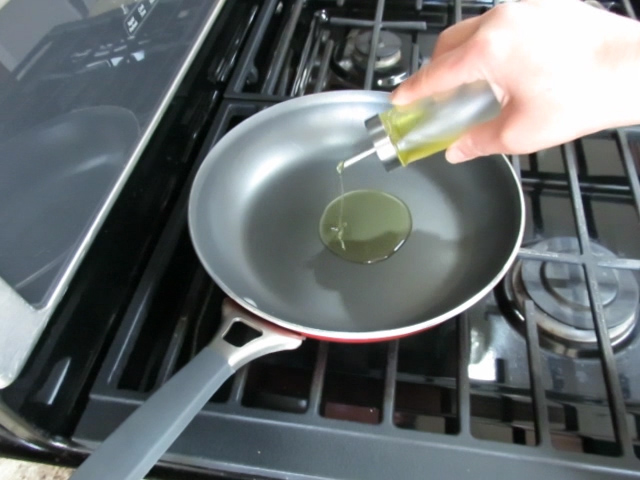
Oil ( 2 tbsp)

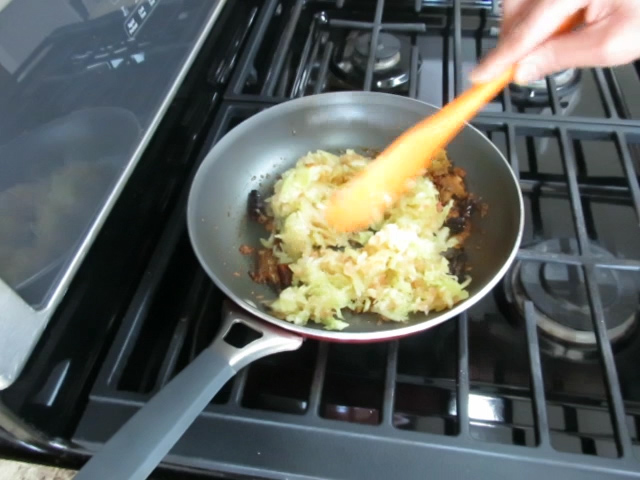
Onions (2 medium sized)(chopped coarsely)

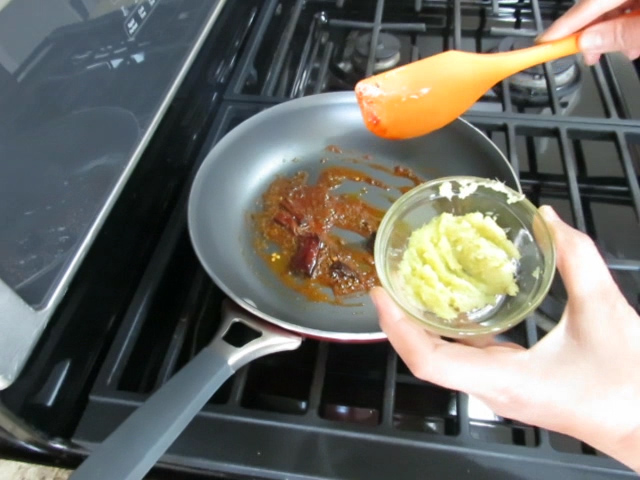
Adrak paste/Ginger paste ( 2 tsp)

Fresh coriander leaves (for garnishing)

Sounf/ fennel seeds 1 tsp (optional)
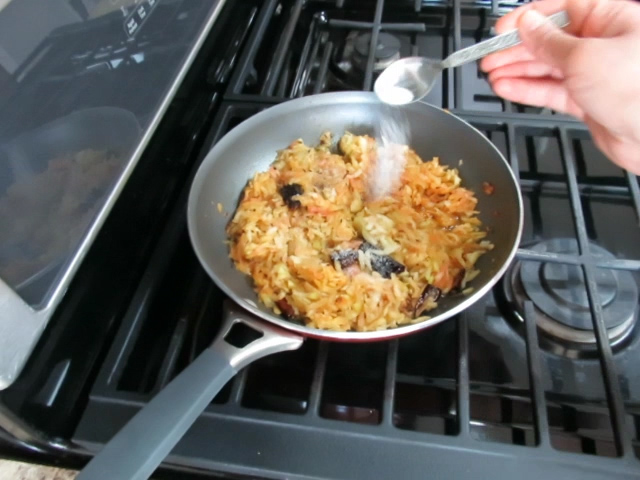
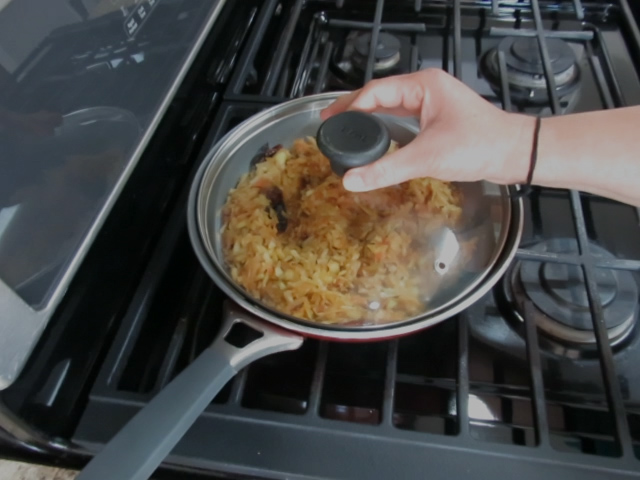
Method:

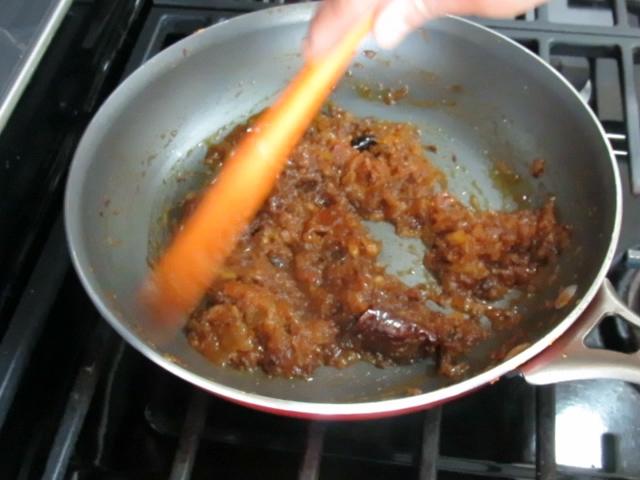
1. Set a nonsitck pan to heat at medium.
2. Dry roast coriander seeds, fenugreek seeds, nigella seeds, mustard seeds, and
cumin seeds.
3. Transfer roasted seeds to a plate and allow to cool. Pound coarsely.
4. Add two tbsp oil to the warm pan. Once warm, add whole chillies broken into two and saute for a few seconds.
5. Add chopped onions and saute until light pink.
6. Add ginger paste. Mix with onions and saute until onions turn dark pink.
7. Add turmeric powder, red chilli powder, salt, and kashmiri red chilli powder.
8. Saute spices for a few seconds. Mix-in the pounded spic mix. Switch off the heat.
9. Allow to cool for 2-3 minutes.
10. Stir in yogurt and mix gently. Add chopped coriander leaves and mix.
11. Cover with lid and allow to stand for 10 minutes.
12. Serve warm with roti, rice, naan, or paratha.
humbnail 1

Crispy Karela fry

Ingredients:

Karelas 400gram
Oil for frying
Chaat masala
Lemon juice

For masala mix, mix these ingredients together

Turmeric Powder 1/2 Tsp
Red Chilli Powder 3/4 Tsp
Coriander Powder 1&1/2 Tsp
Garam Masala 1/2 Tsp
Roasted Cumin Powder 3/4 Tsp
Kashmiri Red Chilli Powder 3/4 Tsp
Sounth/Dry Ginger Powder 3/4 Tsp
Rice Flour 2 Tbsp
Besan 3 Tbsp

Method:

1. Peel karelas and cut into thin rings.
2. Add two tsp salt. Toss.
3. Keep aside for four hours.
4. Wash thoroughly
5. Leave on a strainer for ten minutes.
6. Squeeze between palms and dry on a kitchen cloth.
7. Set a pan with one inch deep oil to heat at medium.
8. Spread the dry rings in a single layer on a tray.
9. Sprinkle the masala mix on the rings. Spread and Mix.
10. Add 1/2 Tsp Amchur Powder or 1 Tbsp Lemon Juice and mix.
11. Divide the rings in three portions.
12. In one portion, add 1/2 Tsp salt and mix.
13. Drop the rings one by one in hot oil and fry until crisp.
14. Fry at high heat for first two minutes and then for one to two minutes, fry at medium/high heat. [4-5 minutes until one batch is done]
Repeat process for other two portions.
14. Toss in Chaat Masala and Lemon Juice.
15. Serve warm.

Mexican Rice


Ingredients List
Rice 1 cup/200 grams
oil 3 Tablespoon
Garlic 1 Clove, Minced/Chopped
Onion Small, Finely Chopped
Tomato Medium/125 Gram, pureed
Roasted Cumin Powder  1/2 Teaspoon
Red Chilli Powder 2/3 Teaspoon
Coriander Powder 1 Teaspoon
Kashmiri Red Chill Powder 3/4 Teaspoon
Taco Seasoning 1 1/2 Teaspoon
Water 450 ml [little less than twice the quantity of rice]
Frozen Corn 1/2 Cup [Optional]
Frozen Green Peas 1/2 Cup [Optional]
Carrots Finely Chopped 3 tbsp [optional]
Boiled, Red Kidney Beans/Pinto Beans/Black Beans 1/2 Cup [Optional]
Lemon juice 1 tbsp
Coriander leaves, chopped
Method
1. Set a thick-bottomed non-stick pan to heat at medium.
2. Add oil.
3. To the warm oil, add rinsed and drained rice.
4. Saute rice for two to three minutes until golden hue.
5. Add minced garlic and chopped onions. Saute for two minutes. Add pureed tomatoes and stir.
6. Add corn, peas, carrots, and kidney beans. Mix.
7. Add coriander powder, red chilli powder, kashmiri red chilli powder, taco seasoning, and cumin powder. Mix well.
8. Add water and salt. Stir.
9. Let it come to a boil. Cover with a lid. Reduce heat to low/medium.
10. Switch off heat after ten minutes. Let stand undisturbed for fifteen to twenty minutes.
11. Uncover the lid. Add lemon juice and coriander leaves.
12. Fluff up rice with a fork.
13. Serve hot.

Leftover Plain White Rice get a spicy makeover

Ingredients:

Oil   2 tsp

Desi ghee  2 tsp

Cumin Seeds  2 tsp

Whole dry red chillies  (2)

Onions, finely chopped  3/4 cup

Ginger Paste 2 tsp

Tomato Puree  3/4 cup

Water  2 cup

Salt  to taste

Red chili  powder   1/5 tsp

Coriander Powder ( 1 tsp, heaped)

Cilantro leaves, chopped. a handful (for garnishing)

Method:

1. Set a nonstick pan to heat at medium
2. To the warm pan, add two teaspoon desi ghee and two teaspoon oil
3. To the warm oil and ghee, add two tsp cumin seeds
4. Once the cumin crackles, add two whole dry red chillis (torn into two)
5. Saute for a few seconds until the chilli changes color
6. Add 3/4 cup finely chopped onions. Saute until pink
7. Add two tsp ginger paste
8. Mix and saute until golden brown
9. Add 1/3 of a whole vadi broken into pieces. Fry with onions. Saute for a few seconds
10. Add t3/4  cup tomato puree
11. Saute until the mix starts oozing out oil
12. Add half tsp turmerick powder. Reduce heat to low
13. Add one fifth tsp chilli powder
14. Add one tsp kashmiri red chilli powder. Mix and saute for a few seconds
15. Add one heaped tsp coriander powder
16. Add half tsp salt. Mix.
17. Add two cups of water and mix. Increase heat to medium and bring it to boil.
18. Reduce heat to low-medium
19. Add two cups of leftover cooked white rice to the gravy. Stir
20. Cover with a lid. Cook for five minutes
21. Add chopped cilantro leaves
22. Serve hot.
Tips*
1. If you are not using vadi, spice up the rice using cumin powder, black pepper powder, and garam masala.
2. Adjust the salt and the spices depending on taste.
3. Works best with cold rice.
4. If the tomatoes are very sour, use half a cup of tomato puree


Watermelon rind sweet and spicy chutney

Ingredients

Watermelon rind (grated) 275 g

Oil  1 1/2 tbsp

Cumin seeds 1/2 tsp

Whole red chillis (split in two)  (3 or as per taste)

Kashmiri red chili powder  3/4 tsp

Ginger garlic paste  2tbsp

Salt 1/2 tsp

Water 3/4 cup

Sugar 3 tbsp

Method

  1. Set a non-stick pan to heat at medium
  2. Add oil and let it warm up.watermelon chutney pic 7
  3. Add cumin seeds and allow to crackle. Reduce heat to lowwatermelon chutney pic 8
  4. Add split whole red chillis and fry for a few minuteswatermelon chutney pic 9
  5. Add kashmiri red chili powder and fry few secondswatermelon chutney pic 11
  6. Add ginger garlic paste and frywatermelon chutney pic 12
  7. Add grated watermelon rind, water and salt. Cook at low-medium heatwatermelon chutney pic 14watermelon chutney pic 16watermelon chutney ic 17
  8. Cover with a lid and cook. Keep stirring after every half a minutewatermelon chutney pic 17
  9.  After 20 minutes add sugar. Cook with out lidwatermelon chutney pic 18
  10. Keep tossing after every few seconds till it starts oozing out oilwatermelon chutney pic 19
  11. Switch off heat, and remove pan from the gas stove
  12. Let cool on the kitchen shelf. WATERMELON RIND CHUTNEY IS READY!
  13. Transfer chutney to an air-tight container and refrigerate
  14. Enjoy with roti, paratha, poori, kachori, bread, or any namkeen

NOTES

  1. You may leave some pulp of watermelon on to the rind in case you are preparing chutney right after cutting the watermelonwatermelon chutney pic 1
  2.  The green portion of the rind has to be peeled off

    3. Do not make chutney in ghee/butter

    4. Ginger garlic paste has to be roasted very little..no browning

5. The chutney will stay good in the refrigerator for 2-3 weeks

6. I have not added any souring agent to make the chutney sweet and spicy.

For sweet and sour chutney you may add a souring agent (I personally do not like the souring agent in this chutney. I find it tastes best as sweet and spicy chutney)


Koki…A savory cookie-like flatbread from Sindhi cuisine

Hindi Video


Ingredients:

  1. Whole wheat flour ( Gheun ka atta) 2 cup/500 gm
  2. Gram Flour (Besan) 2 tbsp
  3. Salt 1 tsp or as per taste
  4.   Ajwain (carom seeds)  1/3 tsp
  5. Red Chilli Powder (as per taste)
  6. Coriander Powder 1 heaped tsp
  7. Cumin Seeds (Jeera) 2 tsp
  8. Turmeric Powder (haldi) 1/5 tsp (optional)
  9. Dry Pomegranate Powder (Anardana powder) 1 tsp…Add spices of your choice…like chaat masala, garam masala, black pepper powder
  10. Dry fenugreek leaves (roasted) 1 tsp
  11. Oil/Ghee 3 tbsp
  12. Green chilllies chopped 11/2 tbsp or as per choice
  13. Coriander leaves washed and chopped 3 tbsp
  14.  Chopped Onions 1 cup
  15. Water as required. I used 230 ml water

Note: Koki has a crumbly cookie-like texture. Signature style of making koki is rolling twice, and cooking twice on the tawa, so that it is cooked properly and yet can be made thick


Method:

  1. Mix all ingredients except water. Cover bowl with a lid and let rest for 5 minutes.
  2.  Add water and bring together the flour and water into a stiff dough. To ensure the crumbly cookie-like texture of koki,  DO NOT knead the dough.koki shot 2
  3. Divide the dough into 6 balls (or as desired). DO NOT rest the dough, else the texture will come out like a paratha.koki shot 3
  4. Set a thick bottomed tawa to heat at medium.
  5. Roll a ball of dough into a thick disc.koki shot 4
  6. Make sure tawa is a little more than warm, not very hot.
  7. Apply some oil on the tawa.
  8. Transfer rolled disc to tawa.
  9. Cook it on each side for 10-15 seconds. No brown spots on disc at this stage.koki shot 5
  10. Remove this disc on to a plate and crush the disc to form a ball.koki shot 6
  11. Roll this new ball into a thick disc (now a little bigger than the first time). Note, koki is rolled thicker than a stuffed paratha, and hence needs to be cooked twice to ensure complete cooking. This new disc will be crooked at the circumference since a partially cooked dough ball has been rolled out again!
  12. Transfer this rolled disc to the tawa, and cook at low-medium heat
  13. After a minute, mark cuts in the koki with a knife, for even distribution of heat.koki shot 10
  14. Once the bottom side is partially cooked, flip koki and mark cuts with a knife.koki shot 11
  15. Apply oil/ghee and fry koki on both sides.koki shot 1
  16. Enjoy with curd or buttermilk,  roasted papad, pickle, tea/coffee or any curry of your choice!IMG_5276 new 2IMG_0439 new

Instant Dahi Bhalla /Dahi Vada (Kid-friendly, No-cook recipe)

Hindi Video


English Video


Instant Dahi Bhallas!! No pre-soaking, No grinding, No frying!

Making dahi bhalla, the traditional way, is a time consuming process. Sharing with you a unique idea for making bhallas! This idea was proposed by MasterChef Sanjeev kapoor. A big thanks to him for this unique idea that has made making bhallas a child’s play!

I attended a party in NJ several years back at a colleague’s house. The hostess of the party Anjita had prepared dahi bhallas using this idea. She was kind enough to share her secret of super-soft bhallas. She told that she had read this in an old cookbook by the Masterchef Sanjeev Kapoor. A big thanks to her too for sharing her secret!

Sharing with you my recipe that I built around this unique idea to make a lip-smacking appetizer!

Ingredients:

Yogurt( dahi)

Jeera biscuits (special)

dahi bhalla shot 3

Water

White Salt

Pink salt (rock salt)

Red chilli powder

Roasted Cumin powder

Chaat masala

Sugar (optional)

Tamarind sweet and sour chutney

Green chutney

Method:

1. Arrange biscuits in plate as shown in the picture. Heat required number of jeera biscuits in the microwave for 40 seconds. Increase or decrease the time as per the number of biscuits.dahi bhalla shot 4

2. Soak these biscuits in water that is at room temperature, for 2-5 minutes.

dahi bhalla shot 5

3. As the biscuits soften, remove them from water. Squeeze gently between your palms.

4. Whip yogurt to make it smooth. If the yogurt is thick, dilute with water or milk.

dahi bhalla shot 10

5. Gently place the biscuits on the yogurt platter. Drench biscuits with more whipped yogurt.

6. Chill in refrigerator for at least 30 minutes. See how in 30 minutes, the biscuits swell up to more than double the size!!

dahi bhalla shot for video

7. Spice it up with salt, pink salted chilli powder, roasted cumin powder and chaat masala.

8. Pour green chutney and tamarind chutney, as per your taste.

dahi bhalla shot 15

Serve chilled!

9. To make Dahi Vada, pour a tempering of mustard seeds, curry leaves and whole red chilies over the dahi bhalla platter. Also add powdered sugar to the whipped yogurt.

10 .To make Dahi bhalla chaat, add toppings of your choice

dahi bhalla shot 16

dahi bhalla 1


Subscribe to my YouTube channel: http://www.youtube.com/poonamskitchen

Follow me at Pinterest https://www.pinterest.com/poonamskitchen

Pin the video in Hindi at https://www.pinterest.com/pin/507851295473308092/

Pin the video in English  at https://www.pinterest.com/pin/507851295459282976/

The link to the video ‘How to make date and tamarind chutney’

The link to the video ‘How to make green chutney’

The link to video ‘How to make homemade yogurt’

Masaledaar Kala Chana Curry/ Black chickpeas

Hindi Video

 English video

Kala chana is a variant of chickpeas and is widely used in the Indian cuisine. Its high protein content makes it very desirable, especially to those wishing to lose weight. Its soup is very healthy and is recommended for quick energy. This can be made either dry or as a curry.

Ingredients:

Kala Chana/Black chickpeas (1 cup)

Split Bengal Gram (1 1/2 tbsp)

Water ( As required)

Oil (2 tbsp)

Desi Ghee (1 tsp)

Bay Leaves ( small 2)

Cumin Seeds (2 tsp)

Turmeric Powder (1/3 tsp)

Coriander Powder (3/4 tsp)

Red Chili Powder ( 1/3 tsp / as per choice)

Salt (1 tsp/ as per choice) Garam Masala (1/2 tsp)

Ginger garlic Paste (1tbsp)

Tomatoes (chopped 3/4 cup)

Onions (chopped 3/4 cup)

Coriander leaves ( for garnishing)

Method:

1. Soak kala chana and dal in 3 cups of water for 10 hours.

2. Drain and discard the water.

3. In a pressure cooker, warm 1 tbsp oil and add cumin seeds. Add bay leaves and fry till cumin is nicely fried.

4. Add all spices except garam masala.

5. Add drained chanas and dal, and fry for 2 minutes.

6. Cover cooker with a lid and allow steam to build up to maximum ( or 2 whistles in a conventional cooker).

7. Reduce heat to low and let cook for 20 minutes. Allow natural release of pressure.

8. In a pan, warm 1 tbsp oil and 1 tsp desi ghee.

9. Add ginger garlic paste and sauté.

10. Add onions and fry till golden brown.

11. Add tomatoes, mix and cover with a lid.

12. Keep stirring after every few seconds.

13. Saute till the tomatoes are soft and oil leaves the sides of the masala.

14. Add a tbsp of water. Switch off the heat and allow to cool.

15. Blend the masala in a mixer. Blend till neither very fine, nor very coarse.

16. Add the blended masala to the boiled chanas. Add garam masala and few chopped cilantro leaves.

17. Cook for a few minutes, till gravy is desired consistency. If need be, add more water to achieve desired quantity of gravy.

18. Serve garnished with onion rings and chopped cilantro leaves.

Enjoy with roti, poori, paratha, naan or rice.

Tomato Soup with a twist/Hot and cold soup

Orange and tomato soup is a very healthy, nutritious, versatile soup that can be served both, cold and hot. Serve it hot as an appetizing soup or a light curry with rice , else serve it chilled as a welcome drink.

Ingredients:

Butter (2 tbsp)
Bay Leaves (2small)
Cinnamon stick(1 small)
Onions (coarsely chopped 1 cup)
Potatoes (diced 1 cup)
Tomatoes (coarsely chopped 4 cups)( You may use frozen tomatoes as well)
Orange Juice (½ cup)
Orange Zest (1 tsp)
Salt (2 1/2 tsp or as per taste)
Black Pepper (1/2 tsp)
Water/ Chicken stock/Vegetable stock (1 ½ cup or as per desired consistency)
Sugar (1 ½ tbsp)
Tomato Ketchup( 2tsp optional)

Method:

1. Set a pan to heat at medium.
2. Melt butter, and add bay leaves and cinnamon stick. Saute .
3. Add onions and fry till they turn transparent.
4. Add potatoes and cook for a minute.
5. Add tomatoes, salt, pepper, orange juice, orange zest, and water/stock.
6. Transfer to a pressure cooker, and cover the lid.
7. Once pressure builds to a maximum, reduce heat to low and pressure cook for 7 minutes.
8. Allow natural release of pressure.
9. Uncover the cooker. Remove bay leaves and cinnamon stick.
10. Blend to a smooth puree. If blending in a mixer allow to cool a little before blending.
11. Transfer back to the cooker ( now rinsed) and heat.
12. Add sugar and ketchup. Mix well, and bring to a rapid boil
Serve piping hot garnished with cilantro/ orange slices/ cream/ croutons.
OR serve chilled garnished with mint leaves and orange slices.
To cook in a pan:
A. Begin with chopping onions, potatoes, and tomatoes small in size so that they cook faster.
B. Proceed as in method given above till point 5. Add an extra cup of water/stock. Cover the pan with a lid.
C. Allow to come to a rapid boil and reduce heat to low-medium.
D. Stir once every few minutes for even cooking.
E. Cook till all the veggies become very soft and mushy (approximately 20-25 minutes.
F. Uncover the pan and allow to cool a little, before blending.
G. Proceed as in point 12 above.
soup grid for fb

Fresh Ginger and Green Chili Pickle

Ginger Chili fresh pickle is a jackpot pickle!! It not only enhances the taste of food with its tangy and mildly hot and gingery flavor, but also helps in the digestion of food by promoting release of digestive enzymes.  It also acts as a detoxifying agent. By de-toxifying our taste buds, it helps them become more effective and we are able to enjoy true flavors of food. This takes only a few minutes to put together, and gets ready to be enjoyed in a few hours.

Ingredients:

Ginger (150 g or as required)

Green chilies (a few) (optional)

Lemon Juice ( 2 tbsp)

Salt (1 tsp)

Method

  1. Peel, wash, and dry the ginger pieces. Cut them in to juliennes
  2. Wash and dry green chilies. Cut off the stem and slit lengthwise in to two halvesIMG_0050
  3. Transfer juliennes and green chilies to an air-tight glass jarIMG_0096.JPG
  4. Add salt and lemon juice.  ginger blog 1ginger blog 2
  5. Close the lid and shake the jar well.ginger blog 3
  6. Store at room temperature on the kitchen shelf.
  7. Pickle is ready to be enjoyed within a dayginger blog 4ginger blog 5
  8. The pickle will last for 5-7 days. Shake the jar two to three times everyday so that the juliennes stay juicy.